A staircase is the most important structural element in an interior design scheme. It serves not only as a movement connector between floors, but a properly designed staircase offers elegant utility to a home. Conscious consideration and execution of the design will provide pleasing aesthetics and good construction, whether it is a new or replacement staircase.
This ultimate guide will take you through all the steps necessary to install a staircase.
Planning Your Staircase Installation
Before installing, plan your staircase to ensure it aligns with your home’s layout and design vision.
Determine the Staircase Type
Before anything, determine what kind of staircase will suit your space. Types may include straight staircases, the simplest classic forms and easy to install, or L-shaped staircases that make a 90-degree turn, sometimes a little tricky because they need a landing. U-shaped staircases have two 90-degree turns and occupy a small space yet look elegant, while spiral staircases conserve space and lend an eye-catching aspect.
Measure and Calculate Dimensions
Correct measurements are essential for a safe and well-proportioned staircase. Key dimensions include the total rise, measuring from the lower level to the upper one, and the total run, the horizontal distance on the floor the staircase will occupy. Tread depth, usually 10-11 inches, determines the step-area surface; riser height, usually 7-8, says that of the step.
Check Building Codes and Regulations
Each area has particular building codes to determine stair dimensions, handrail height, and security features. The above must be considered because it would be unsafe and may lead to legal issues, so ensure you follow these localized requirements before commencing installations.
Choose Your Materials
Selecting the right types of materials will add durability and still fit into the design of your house. Wood will give some classical touch with lots of freedom to choose types like oak, maple, and pine. Metal, like glass, has a new, open look for railings, which are created with durability in mind. They take on a very contemporary and fresh feel because of the use of glass as the railing.
Step-by-Step Staircase Installation Process
Here’s a step-by-step staircase installation process for you to follow
Gather Tools and Materials
Everything will be more convenient if you have the right tools. Most essential tools- tape measure, level, saw (circular or jigsaw), drill, screws, hammer, nails, wood glue, adhesive. The main components will include stringers, treads, risers, and railing components.
Prepare the Installation Area
Clear the area and remove the existing staircase, if there is one, and any barriers. Paint chalk lines or markers to mark the anchor points of the stairs. Check the support structure to ensure that the new stairs can stay in place and perform their function without stability issues and without abusing the floor and walls.
Install the Stringers
From the stringer, you may see the back of a staircase hold your treads and risers. If you compare the pre-cut stringers, place them well. Otherwise, for your stringer, measure and mark before making cutouts for each step. Mount the stringers from the upper landing down to the lower landing, making use of brackets and screws. Measure the alignment using a level before proceeding.
Attach Treads and Risers
Nail or bolt the risers to the vertical boards. After you have secured the risers, please bring in the treads, place them on top of the risers, and attach them well. Step on each tread for muchness and checking stability, but do so gently.
Install Handrails and Balusters
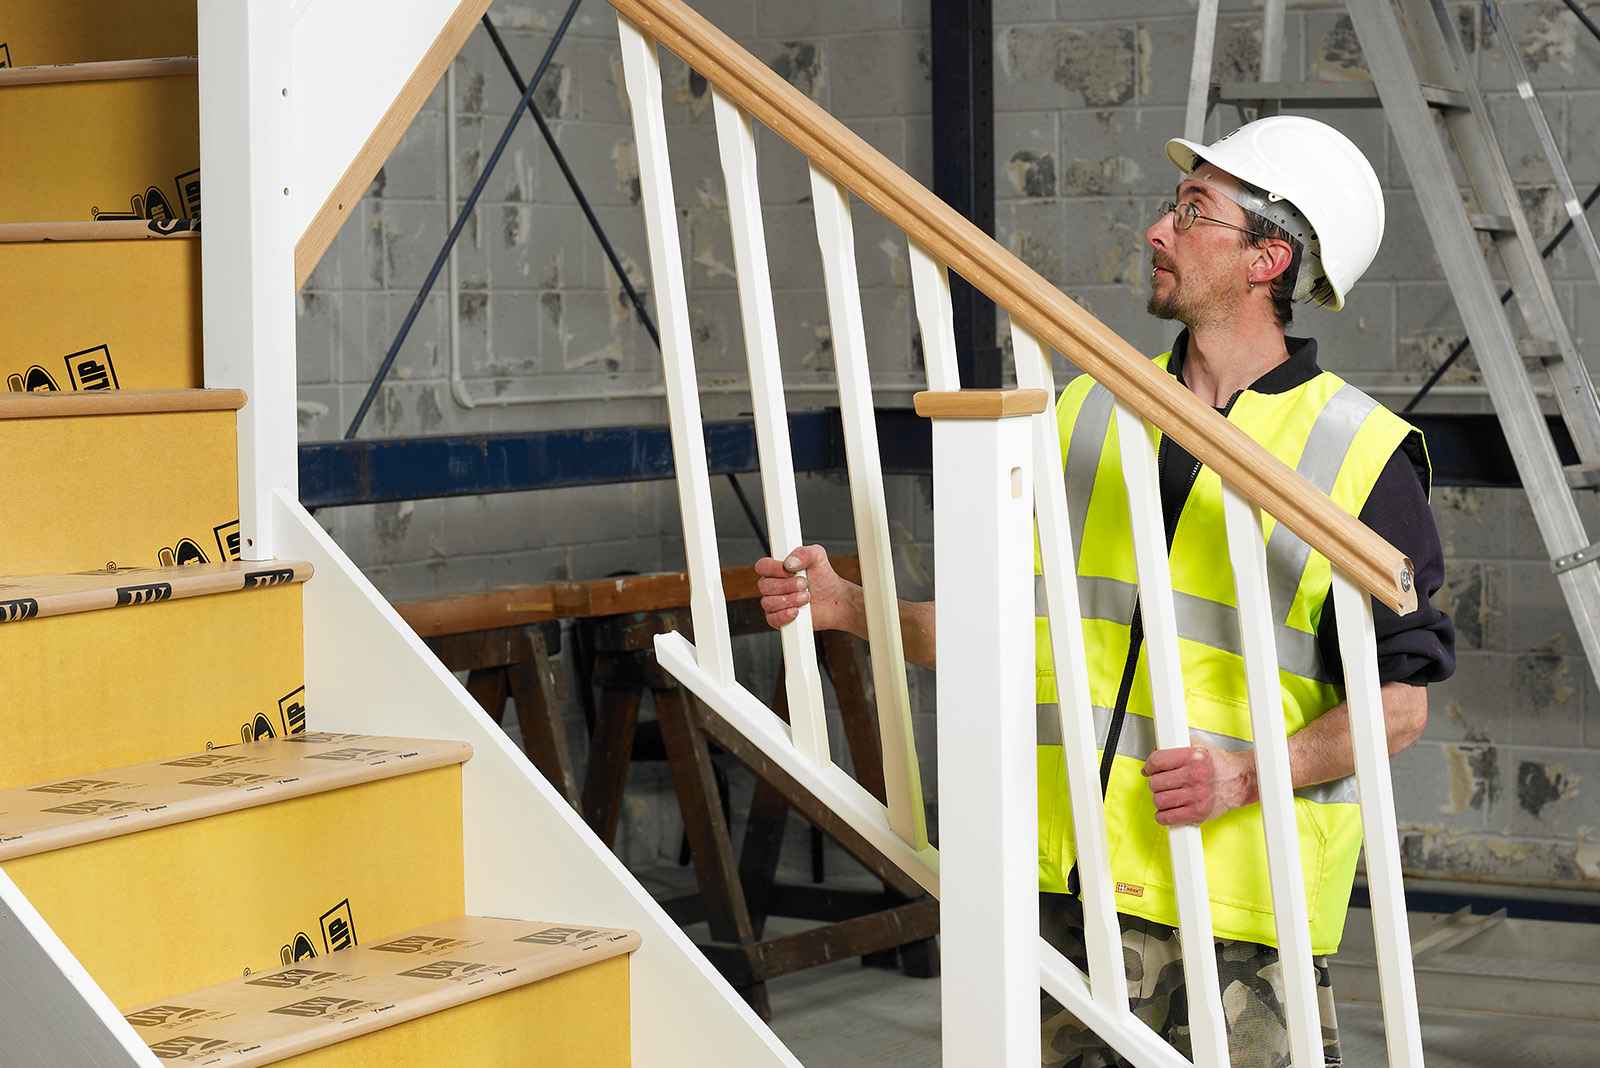
Install newel posts at the tops and bottoms of the stairs into which the staircases will be constructed. Fix the fixation points so that, at the same time, being level, they are at a comfortable height for the users. Secure some equally spaced balusters along the staircase, fixing them over treads and handrails. Before moving on to finishing touches, check for sturdiness by gently applying pressure to the handrails and balusters.
Finishing Touches for a Stunning Staircase
Enhancing the final look of your staircase involves careful detailing, ensuring both beauty and safety for years to come; here’s what you can do.
Sanding and Smoothing
Polishing follows the smoothing of rough edges using sandpaper or a sander. This operation is essential for the surface’s aesthetic appearance and for minimizing the possibility of splintering or surface imperfections.
Painting or Staining
Please select a color to paint or stain the staircase that complements your home’s aesthetics while protecting it from wear and tear. Last touches, such as a natural wood stain or a vibrant color, can improve the staircase’s appearance.
Adding Non-Slip Features
If there are kids or elderly residents in the house, outdoor non-slip treads or carpet runners should be considered for safety. These features provide extra traction and prevent slips and falls.
Final Inspection
Traverse the staircase for one last time, inspecting for any loose steps and secure railings. Tighten any screws or nails that might seem loose to ensure that nothing stands in the way of the final declaration of the work as complete.
Common Mistakes to Avoid
Recognizing typical pitfalls can help prevent costly mistakes while keeping your staircase safe and durable over the long term. One big faux pas is a building code violation. If you fail to meet the code, unsafe conditions may arise, often becoming a nightmare. Therefore, checking out local laws to ascertain whether your staircase is being built according to safety standards is essential. Another common problem would be measurement errors. Even a tiny error can lead to miscalculated displacement and a staircase fluctuating. Lastly, low-grade materials can weaken the staircase’s strength and longevity.
Conclusion
Staircases are more than just functional necessities; they provide an opportunity to enhance the aesthetics and value of your home. This step-by-step guide helps you complete an installation that glorifies your space.
BME Building Solutions will provide quality craftsmanship and a personalized solution to meet your needs. Call them today for a consultation, and take the first step toward your exciting home improvement!


